|
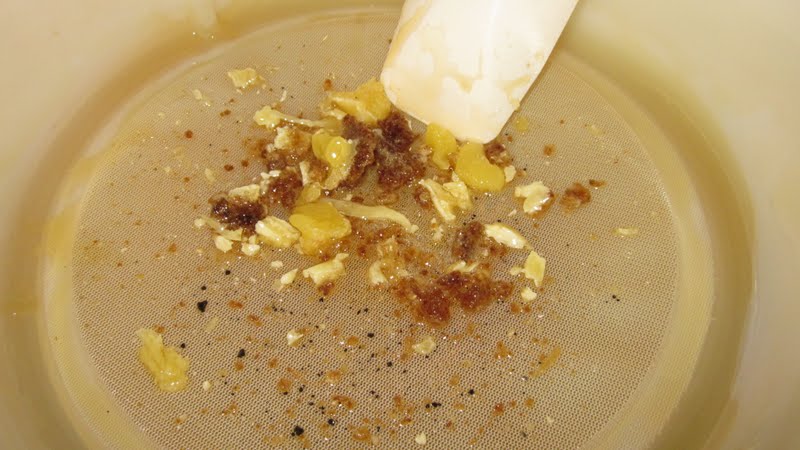
| On left is the Baker's Honey from first extraction. On right is from the second. It's as dark and rich as molasses! |
With all the wax laying around, it was about time I do something with it. I had buckets of it...buckets.
Here are some of the cappings before I cooked them down for the Baker's Honey:


I put this off for so long because just like pressure canning, the stories I read online and in the books, scared the bajeepers out of me! That was last year. This year, I simply did my best to remember the important steps and just did it. No time for fear, just do it!
Pft! It was so simple and possibly one of the coolest things I have ever learned!
How to Refine Beeswax
Any pans and even some utensils will never be the same after processing wax. Therefore, I have my designated tools. You may want to also.
- Fashion yourself a double boiler if you don't have one you are willing to sacrifice to the wax. I used a set of nesting pans my mom gave me years ago and they worked perfectly! The handles of the wax pan held itself at just the right level in the larger pan:

- Add enough water in the larger pan to come up the sides of the inner pan an inch or so. You can do this before you put the smaller pan in if you are worried about getting water in the wax pan, which you don't want.
- Add your wax and cover inner pan with a lid.

- Turn on the heat and bring to a very slow boil.
- Meanwhile, spread wax paper on your countertop if you like. Any time I work with honey/wax, I have found it just makes for easier clean up.
- Open the tops of your reserved milk, half/half or OJ cartons. You want to use the cartons because they are already lined with a light layer of wax and wont adhere to your finished product. Start saving them up for future use if need be. A quick rinse, dry, shove'em in a corner and they are good to go when they are needed!
- Cut your cheeseclothe and place over the opening. Make sure you leave some give at the top for pouring and catching the debris. I taped mine down pretty tight as I wanted no slippage.

- When your wax has completely melted, lift inner pan from the water and quickly wipe it with a towel.
- Pour the contents of the pan into the carton. I filled my containers about 3/4 full.


- Let the wax rest until it is cooled to solid:
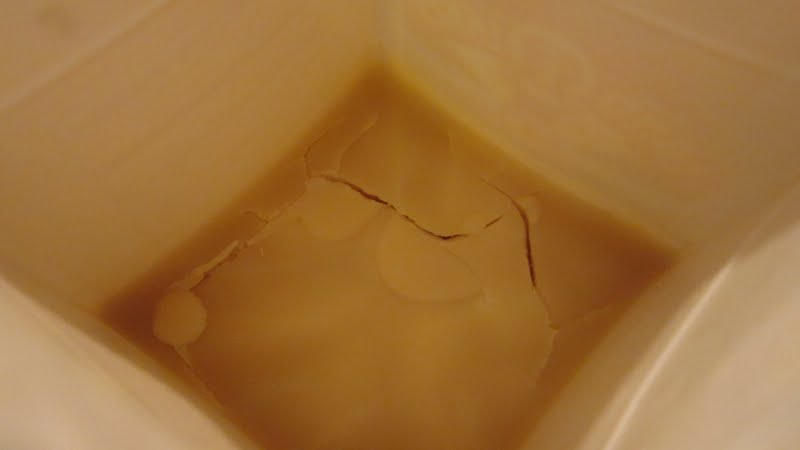 |
| It cracked because I kept being all touchy-feely with the first one. It couldn't be helped. The others are smooth as butter. |
- Tear off the carton and behold...clean beeswax!

This one weighed about 1.25 lbs. I have others cooling in cartons and more wax to go!
Here is a comparison of some refined wax that I spilled on the counter (see...I told you!) compared to the unrefined wax: